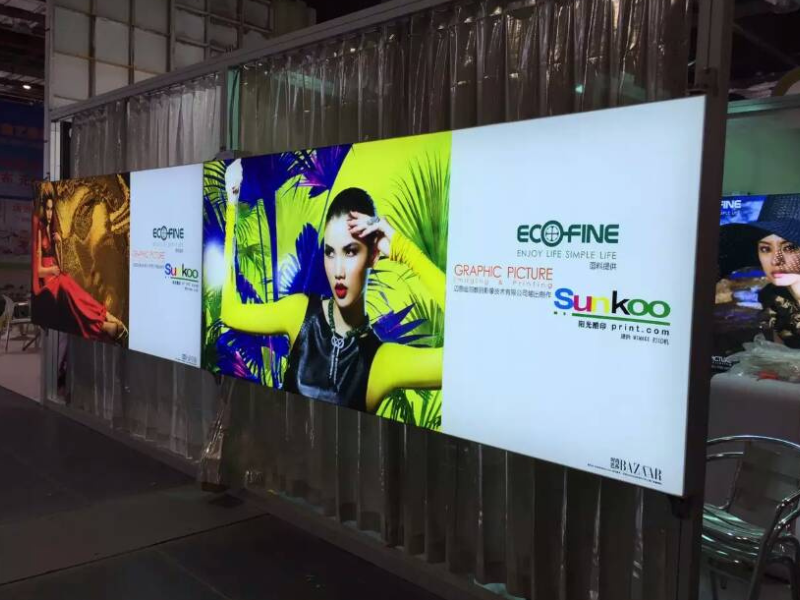
Lightboxes are an innovative and effective way to display advertisements, artwork, and signage. At Light Tech Solutions (LTS), we specialize in high-quality lightboxes that combine excellent design with superior lighting technology. Whether you're installing a traditional fabric lightbox or a modern LED backlit system, proper installation is key to ensuring optimal performance and safety.
Step-by-Step Guide to Installing LTS Lightboxes
1. Preparation
Before starting the installation process, make sure you have all the necessary tools and equipment. Here’s a basic checklist:
LTS Lightbox (with mounting brackets, LED lights, and power supply)
Screwdriver (Phillips or flathead)
Level
Measuring tape
Drill with appropriate drill bits
Wall anchors and screws (if not provided)
Protective gloves and safety glasses (for safety)

2. Choose the Installation Location
Select a spot where the lightbox will be visible and has access to power. Ensure the wall is sturdy enough to support the weight of the lightbox. For a clean and professional appearance:
Avoid locations with direct exposure to weather if it’s for outdoor use.
Consider the height and accessibility of the lightbox for easy maintenance.
3. Measure and Mark Placement
Use a measuring tape to determine the exact placement of the lightbox on the wall. Mark the points where the mounting holes will go, ensuring they are level. This will guarantee that your lightbox is hung straight and looks aesthetically pleasing.
4. Install the Mounting Brackets
If your lightbox comes with mounting brackets:
Drill holes in the marked spots on the wall.
Install wall anchors if necessary, especially if you're mounting the lightbox on drywall or other hollow surfaces.
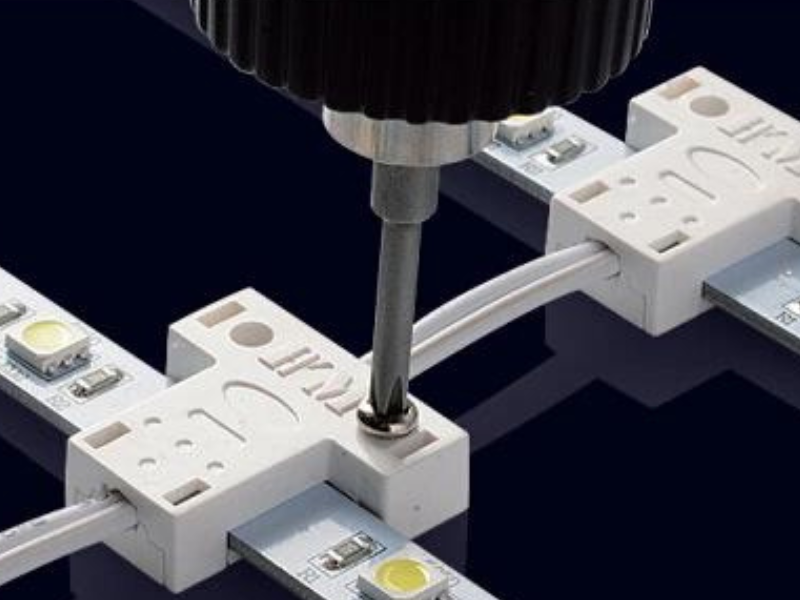
Secure the mounting brackets to the wall with screws.
For large or heavy lightboxes, it’s recommended to use two people during this step to ensure safety and accuracy.

5. Attach the Lightbox
Once the mounting brackets are in place, carefully lift and hang the lightbox onto the brackets. Ensure that it is securely fastened and does not wobble or slide. If your lightbox features a fabric cover, check that the fabric is taut and properly aligned for a smooth, clean finish.
6. Connect the Power Supply
For LED backlit lightboxes:
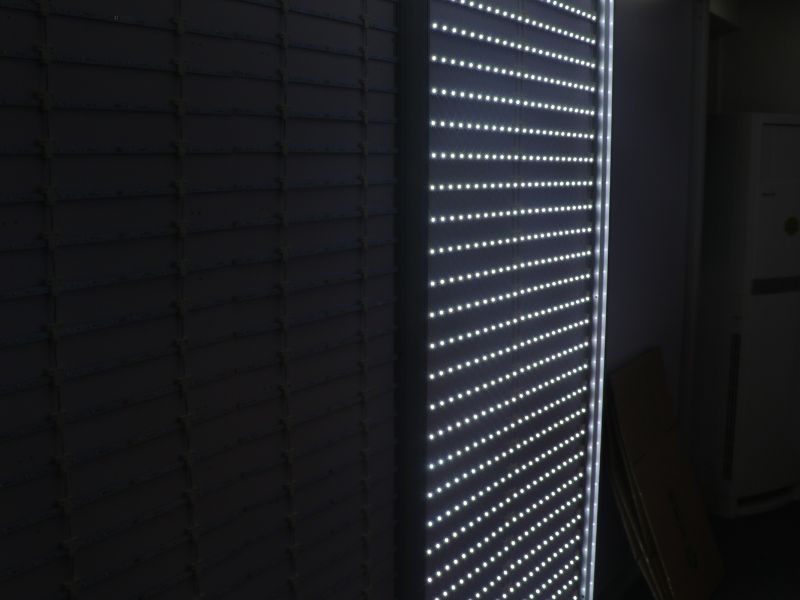
Connect the LED power supply to the power source, following the manufacturer's instructions.
If the lightbox uses an external power supply, ensure the cable is securely plugged into both the lightbox and the electrical outlet.
Test the lightbox to make sure the lights are functioning properly.
7. Final Adjustments
Once the lightbox is installed, step back and review its placement. Use a level to ensure it is hanging straight. Make any necessary adjustments and tighten the mounting screws to secure the lightbox.
8. Maintenance and Care
To keep your lightbox looking bright and functional:
Regularly clean the surface of the lightbox using a soft cloth to avoid dust buildup.
Check the LED lights periodically for any signs of damage and replace any faulty components promptly.

Why Choose LTS Lightboxes?
At Light Tech Solutions, we offer a range of lightboxes designed to meet your advertising and lighting needs. Our lightboxes are energy-efficient, long-lasting, and easy to install. Whether you're looking for a traditional fabric lightbox or a cutting-edge LED backlit model, LTS provides the highest quality products for all your lighting needs.
